How to Make Personalized Party Hats
Creating personalized party hats is a fun and engaging activity for kids at any birthday party. These custom hats not only add a festive touch but also give children a chance to express their creativity.
Follow these detailed steps to make personalized party hats:
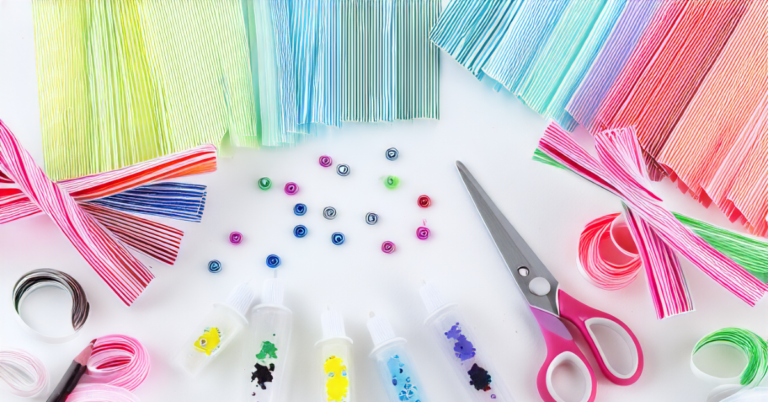
Materials Needed:
- Colored cardstock or construction paper
- Scissors
- Glue or double-sided tape
- Elastic string or ribbon
- Hole punch
- Decorations: stickers, markers, glitter, pom-poms, ribbons, etc.
Step-by-Step Instructions:
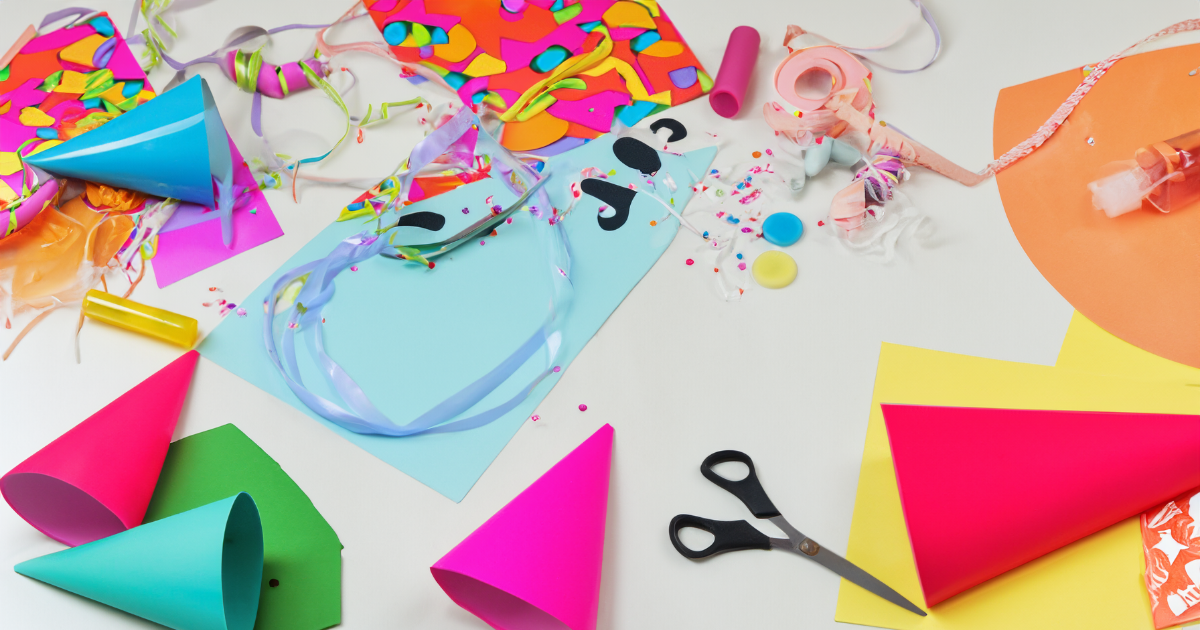
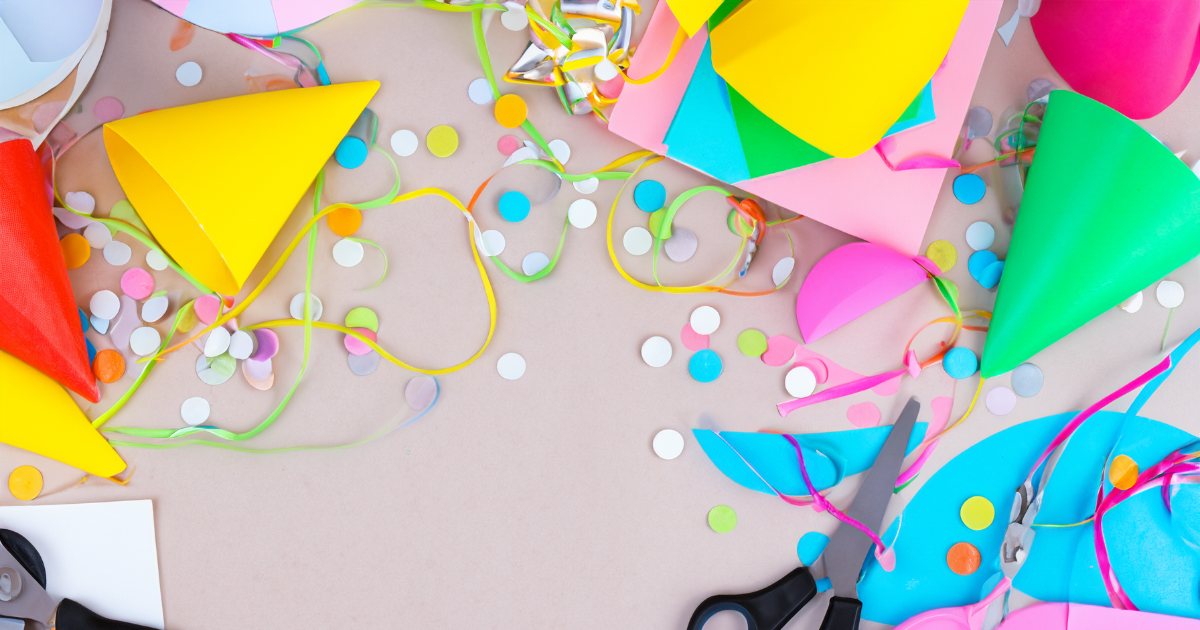
- Create the Hat Base
- Template: Start by drawing a large semicircle on a piece of cardstock or construction paper. You can use a bowl or plate as a guide to ensure a smooth curve. The size will depend on how big you want the hat to be.
- Cut Out: Carefully cut out the semicircle using scissors.
- Form the Hat Shape
- Roll into a Cone: Take the two straight ends of the semicircle and bring them together to form a cone shape. Overlap the edges slightly to secure the shape.
- Glue or Tape: Apply glue or double-sided tape along the edge where the paper overlaps and press firmly to secure. Hold for a few seconds to ensure it sticks well.
- Attach the Elastic String
- Hole Punch: Using a hole punch, make two small holes on opposite sides of the base of the cone. These holes should be about 1 inch up from the edge.
- Elastic String: Cut a piece of elastic string or ribbon long enough to fit under the child’s chin. Thread the ends of the string through the holes and tie knots to secure it. If using ribbon, you can also tie the ribbon ends together under the child’s chin when the hat is worn.
- Decorate the Hat
- Stickers and Markers: Provide a variety of stickers and markers for the kids to use. Encourage them to draw patterns, write their names, or add fun designs.
- Glitter and Glue: For some sparkle, kids can use glue to draw shapes or patterns on the hat and then sprinkle glitter over the glue. Shake off the excess glitter once it’s dry.
- Pom-Poms and Ribbons: Glue pom-poms to the top of the hat for a fun and whimsical touch. Ribbons can be attached around the base or trailing from the top.
- Additional Embellishments
- Add-ons: Allow the kids to be as creative as they want by providing additional embellishments such as feathers, foam shapes, or even small craft jewels.
Tips for Success:
- Supervision: Ensure that an adult is present to help with cutting and gluing, especially for younger children.
- Clean-Up: Have a designated clean-up area for any glitter or glue spills.
- Personalization: Encourage kids to personalize their hats with their names or favorite colors to make the experience even more special.
By following these detailed steps, you can create personalized party hats that will be a hit at any birthday celebration. Not only do they make great keepsakes, but they also provide a wonderful activity to keep the kids entertained and engaged. Happy crafting!